Each month, our product team releases new functionality for our giving platform. Throughout the year, we saw impactful enhancements designed to improve the giver and admin experience. These features are driven by feedback from the churches we gratefully serve!
We hope you had the opportunity to take advantage of these updates as they were released. But, in case you missed them, we’ve compiled a list of our best release roundups of 2019.
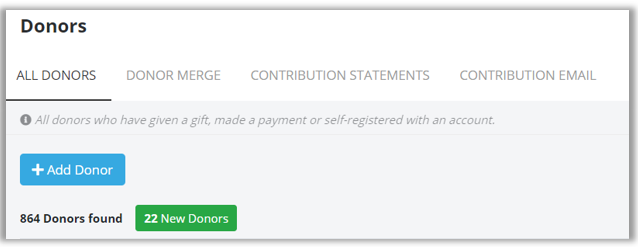
Enhanced Donor Contribution Statements
Donor Contribution Statements got a facelift for year-end! Enjoy all the same features (plus a few new ones, like a contribution email option) and a more intuitive interface.
Enable a Note Field
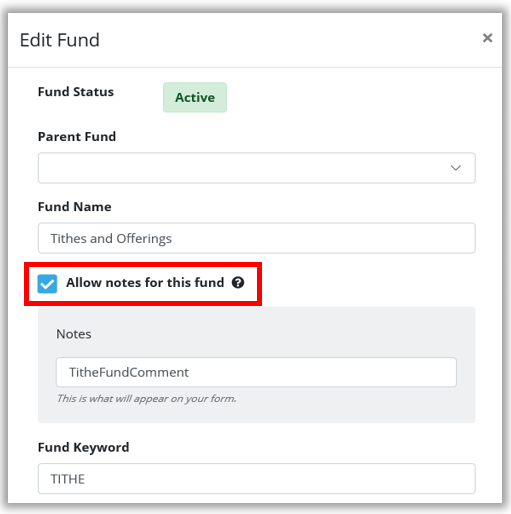
Enable the Note field on a Fund to collect specific information. The Note will appear on transaction and auto reports for you to reference.
MinistryID
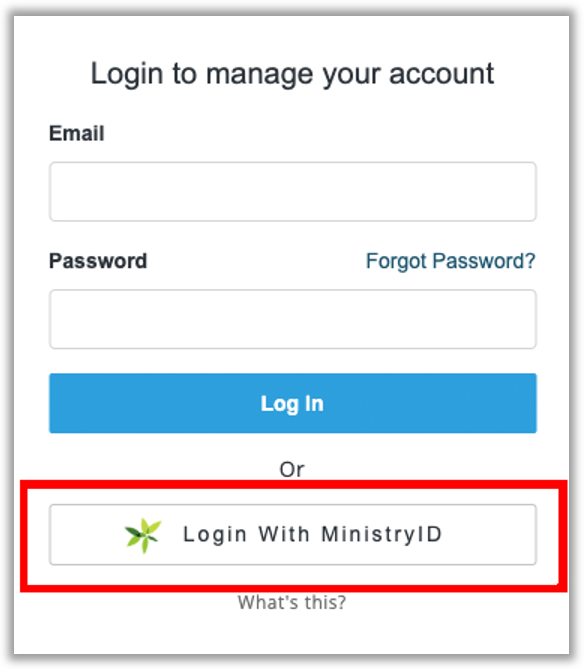
MinistryID is your single sign-on (SSO) solution to connect the products your ministry uses every day (like easyTithe!). It gives you access to multiple applications using one credential. Now, you can use the same login for easyTithe, your church management software, and other systems where you see the MinistryID logo.
Improved Campus Management
If you manage multiple campuses, check out these features that give you more control to edit and sort based on your preferences.
1. Editing campuses
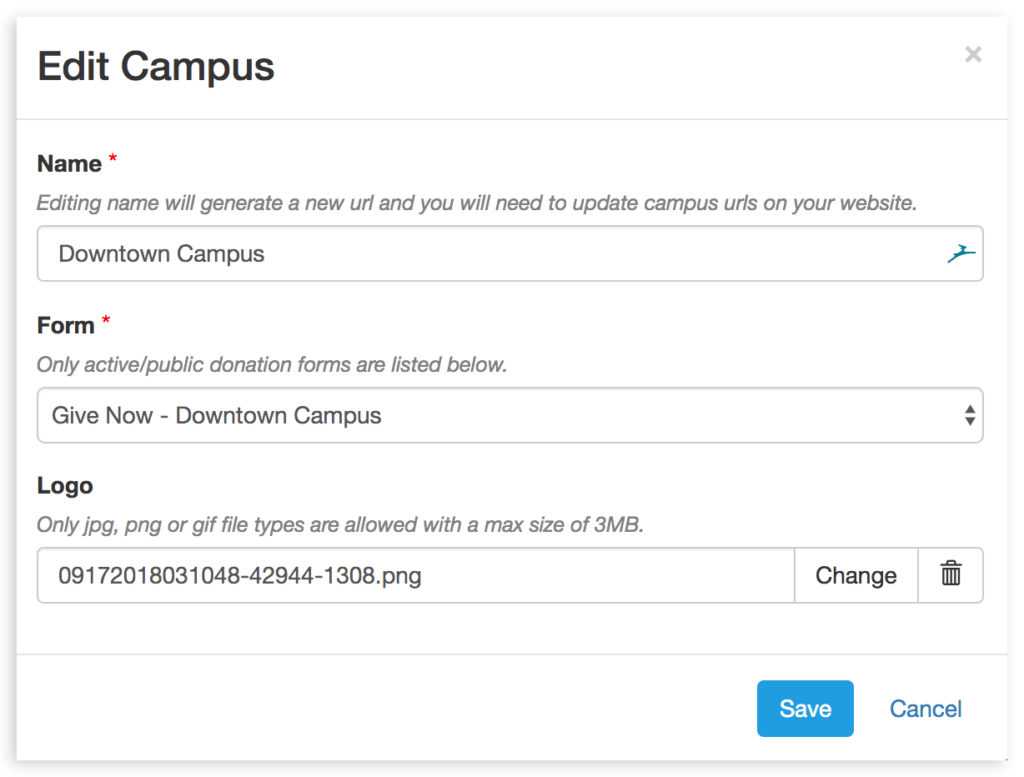
Edit campus names by going to Campus Management and clicking the Action button on the right side. Choose Edit Campus. A pop up will open, allowing you to edit the campus name. As you do, a new URL will be generated. If you attempt to duplicate a campus name, you’ll be prompted to enter a unique name instead.
2. Sorting campuses
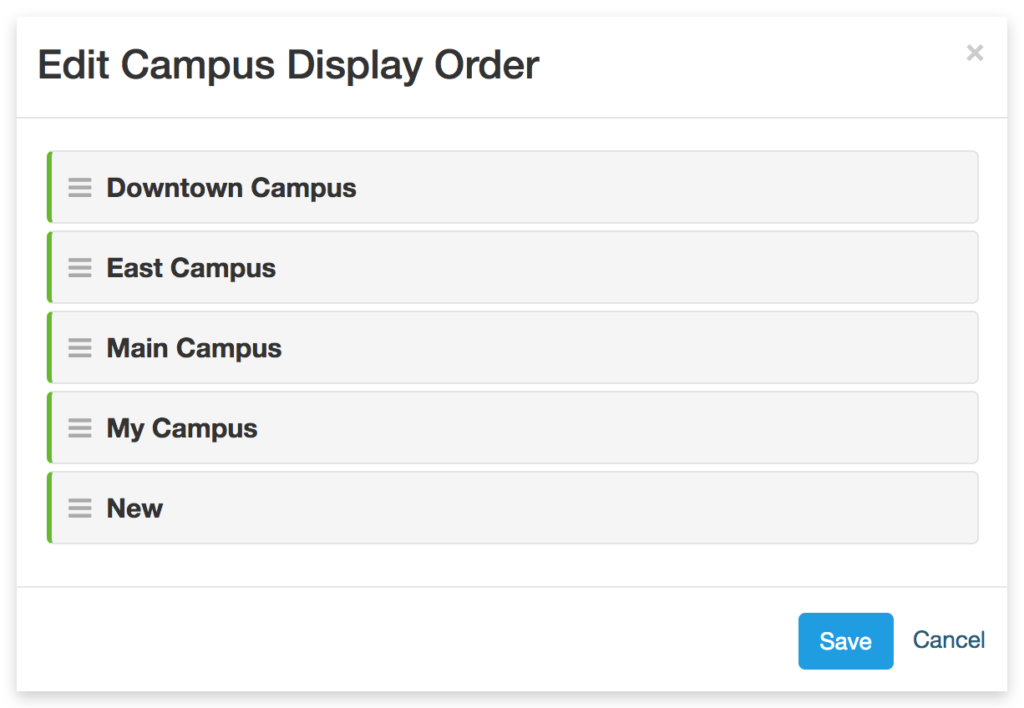
Adjust the order that campuses are listed by dragging and dropping them. Donors will see Campuses listed in that order on your giving page.
Updated Forms Features
Forms is a robust tool for creating giving pages, volunteer sign ups, event registration, and much (much) more! You already have powerful customization options at your fingertips when creating forms—and we’ve improved these even more! Here are 7 ways we’ve enhanced Forms in 2019.
1. Field Sets
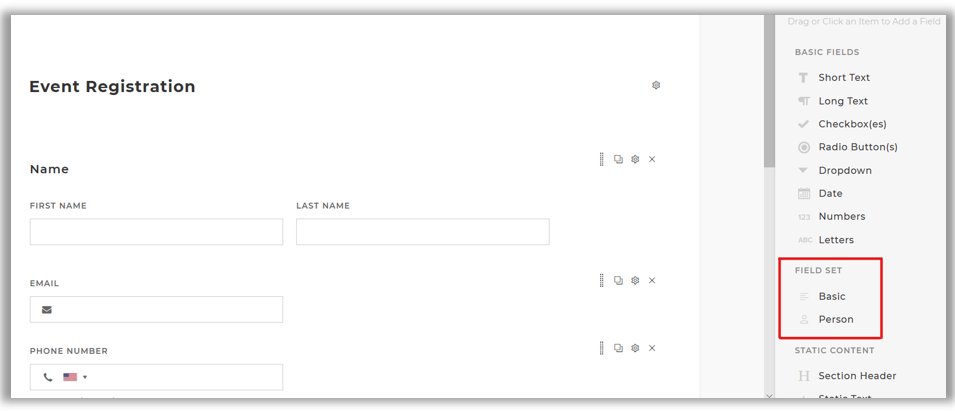
Field Sets are a collection of fields grouped together to keep information organized and easy to find. It’s a new section in Form Manager. When building a form, you’ll find Field Sets located in the toolbar on the right.
2. Basic Field Sets
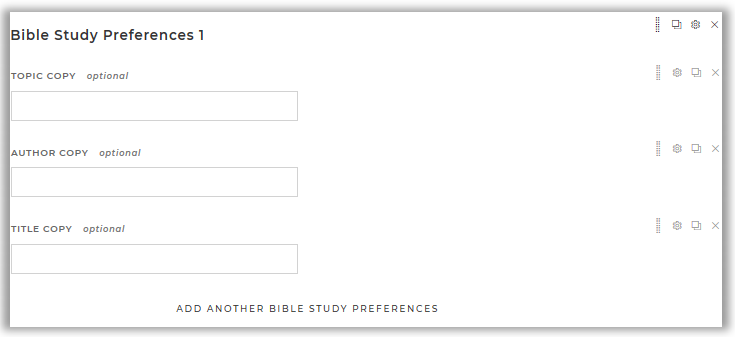
Collect data for multiple fields, multiple times over with Basic Field Sets. Gather recommendations for a Bible study at your church by grouping individual fields like topic, author, and title, for instance.
The user can add as many of these groupings (field sets) as they want while filling out the form, or you can set a limit.
3. Person Field Sets
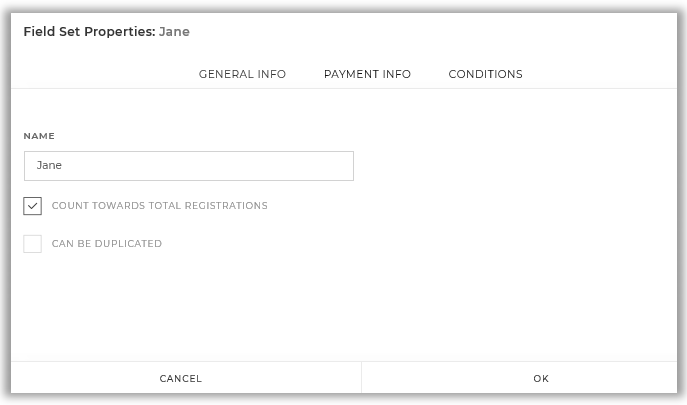
Person Field Sets come with a name and amount field by default. These are ideal for collecting registrations or submissions centered around people or when a variable number of people are reflected.
An outreach event that’s free for children to attend and $5 per adult is one example of when to use Person Field Sets. Another is when only children count towards the total number of registrations, and adults don’t, such as for Vacation Bible School.
4. Max Registration
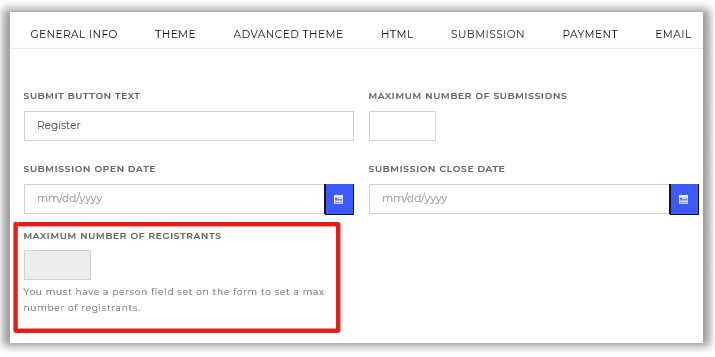
Now, you can set the maximum number of registrations per submission form. Remember, one submission form could have two or more registrants on it. Set a limit on that total number under Form Properties > Submission.
5. Pay Later
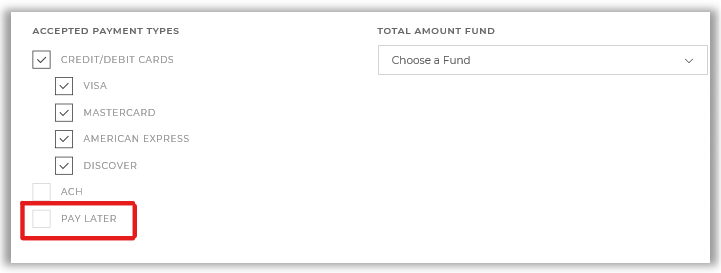
There’s a new payment option under Form Properties > Payment, allowing the user to bypass entering payment information when submitting a form. Instead, they can check the “Pay Later” box. Submissions with Pay Later selected will be labeled as such in your CSV export.
6. Recurring Giving Options
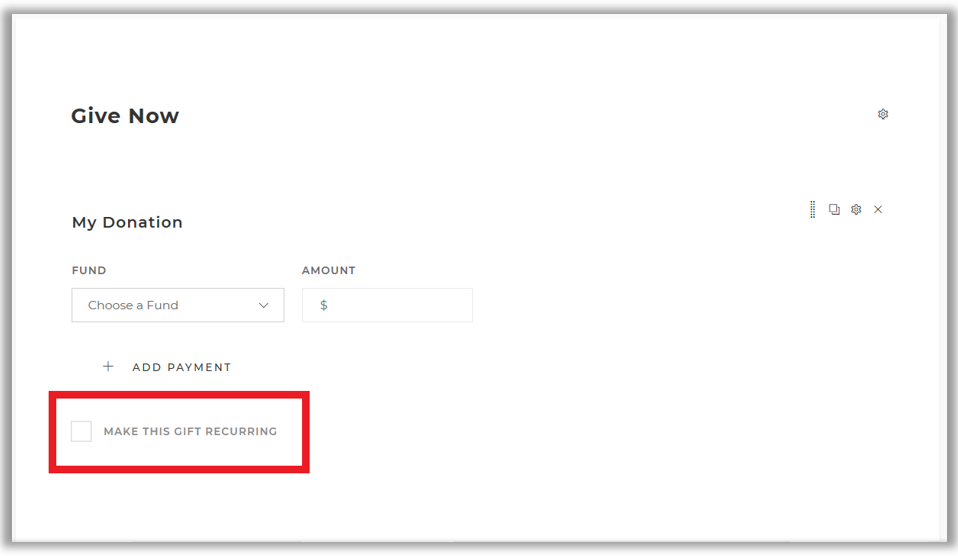
Now, if your form has recurring giving enabled, the “Make this Gift Recurring” box will appear when the form first loads. The user no longer needs to select a fund or enter an amount first.
7. Allow File Uploads on a Form
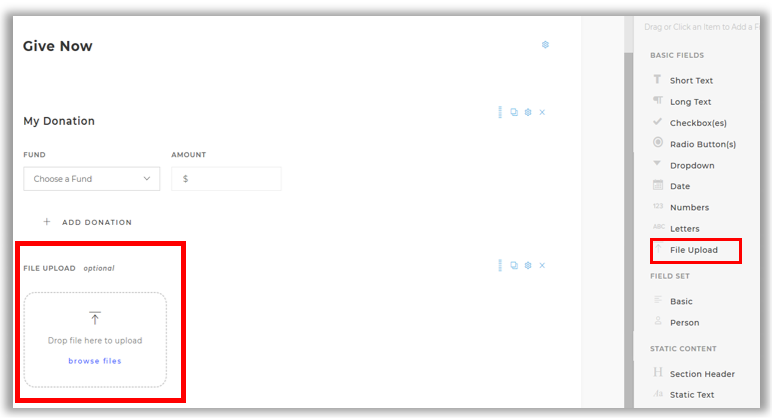
Now, you can include File Uploads on your Form. Accept file types like images, documents, and more.
Sort Funds in Preferred Order
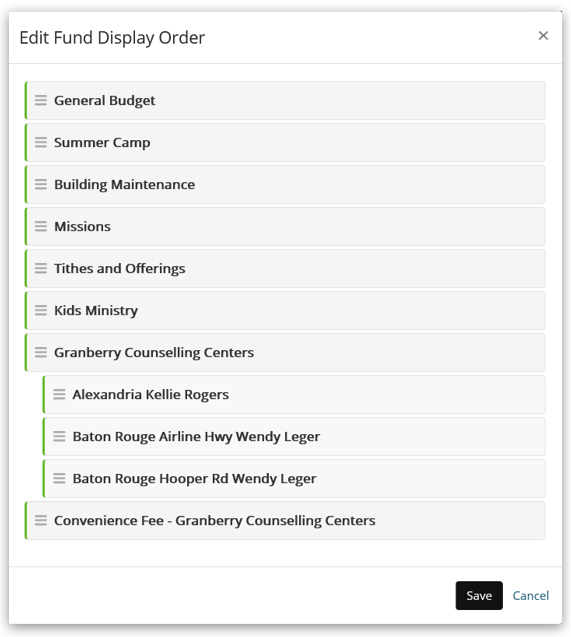
Now, when displaying funds for givers to select on a form, sort them to appear in your preferred order by dragging and dropping them in Fund Management.
Advanced Search
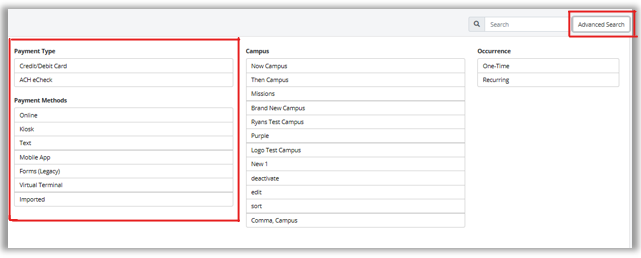
Not only can you filter transactions by clicking Advanced Search in the top right corner of the Transactions page, but you can also filter by campus, occurrence, status, date range, and more!
Ready to test the latest updates for yourself? Try easyTithe for a FREE 30-day trial or learn more by calling 1-888-778-4843 and pressing #1.

 blog
blog


